
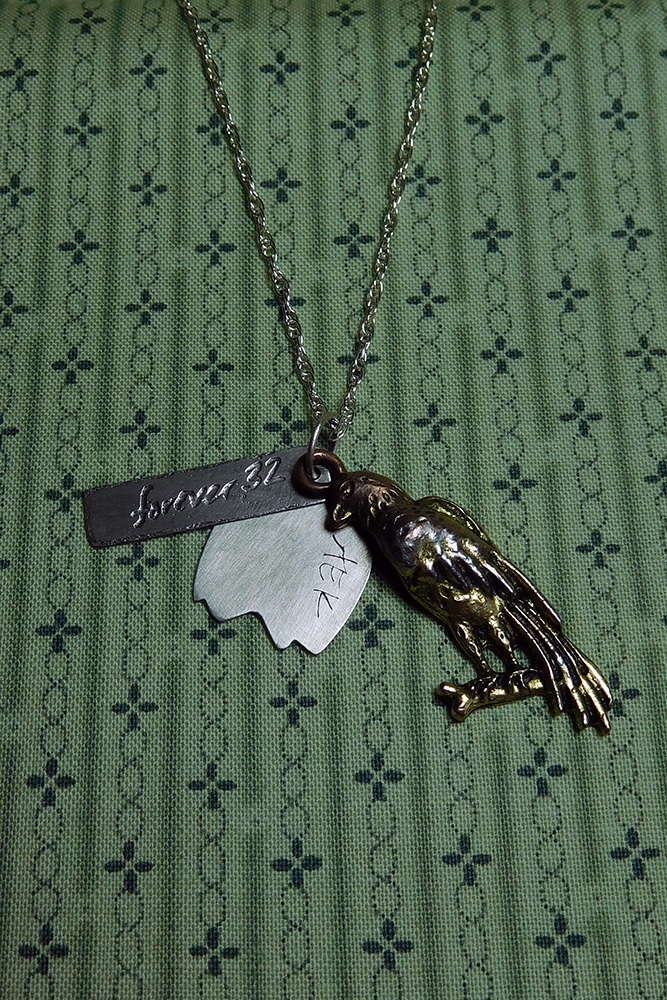
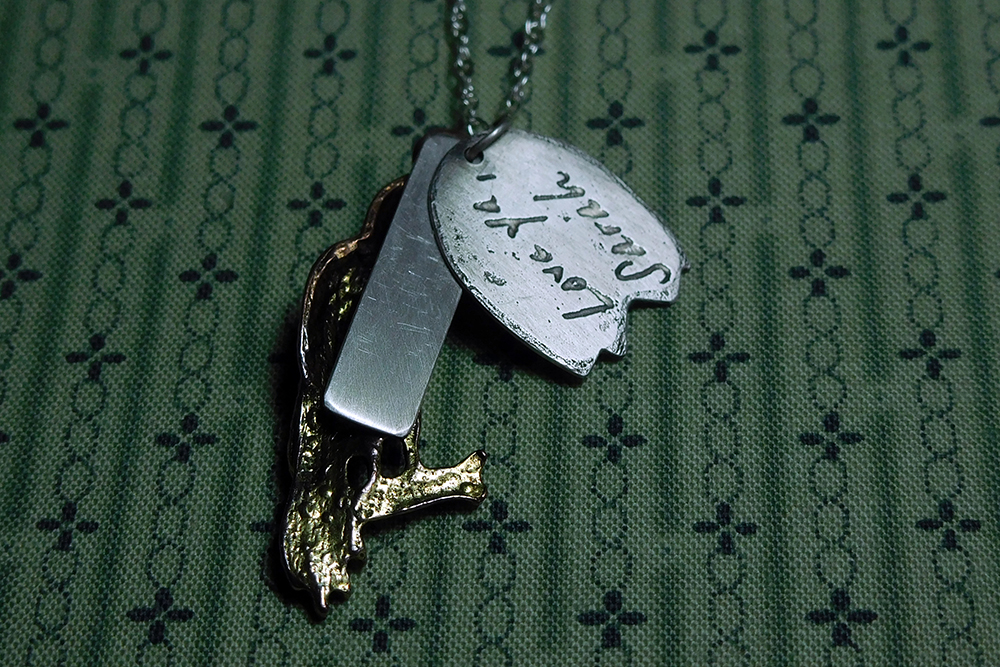
I really dove into the acid etching technique about five months ago, when I accepted a commission to design a memorial pendant reflecting the phrase "forever 32", in honor of Sarah Brook Saling's passing. Ready for the challenge, I began reviewing several handwritten ink and pencil letters written by Sarah. I wanted the etched text to be as authentic as possible.
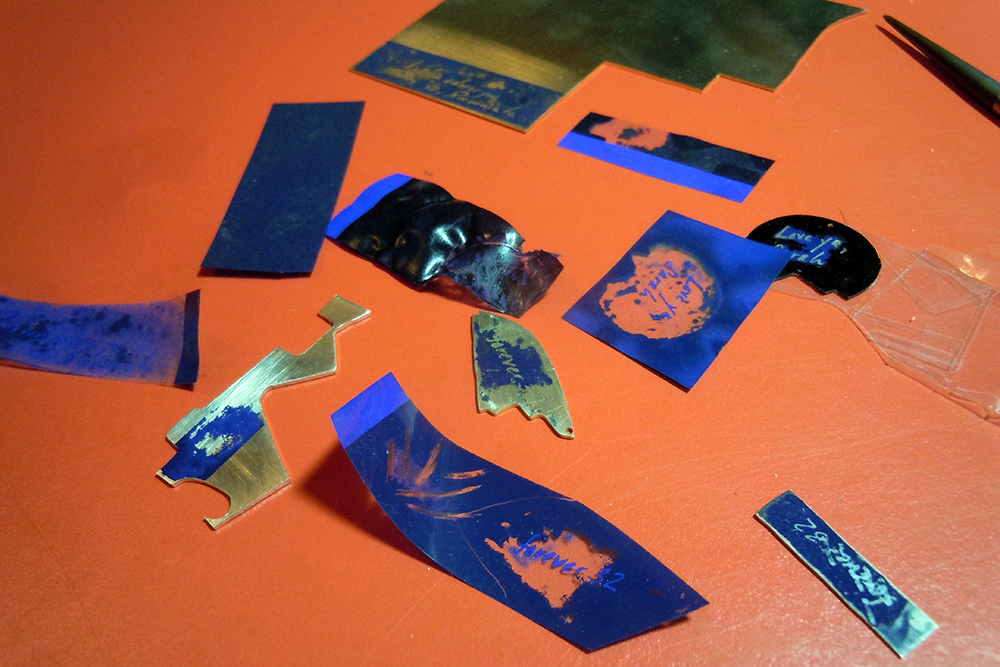
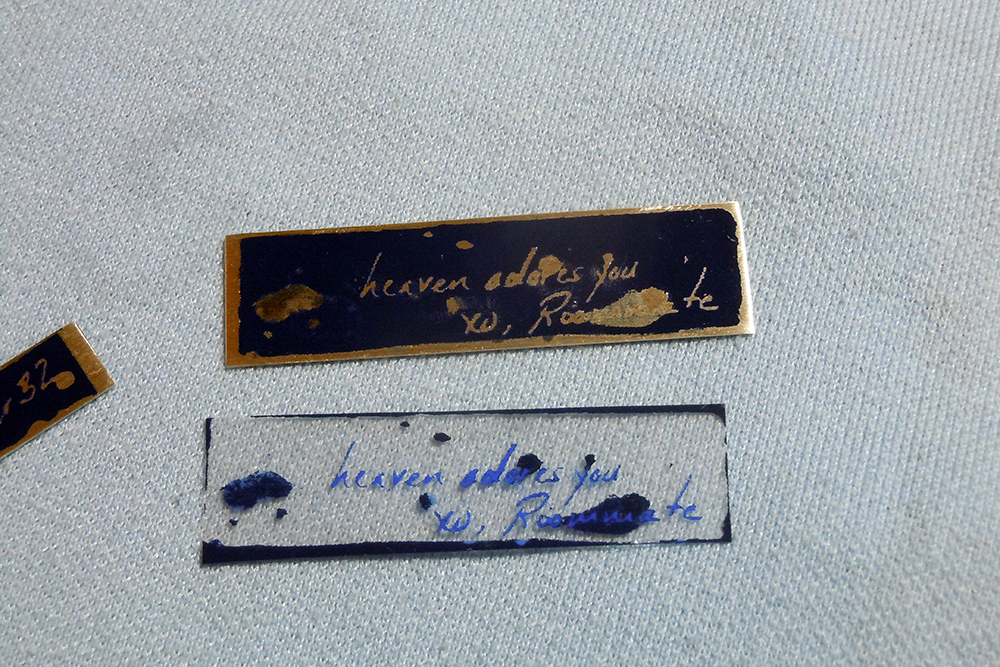
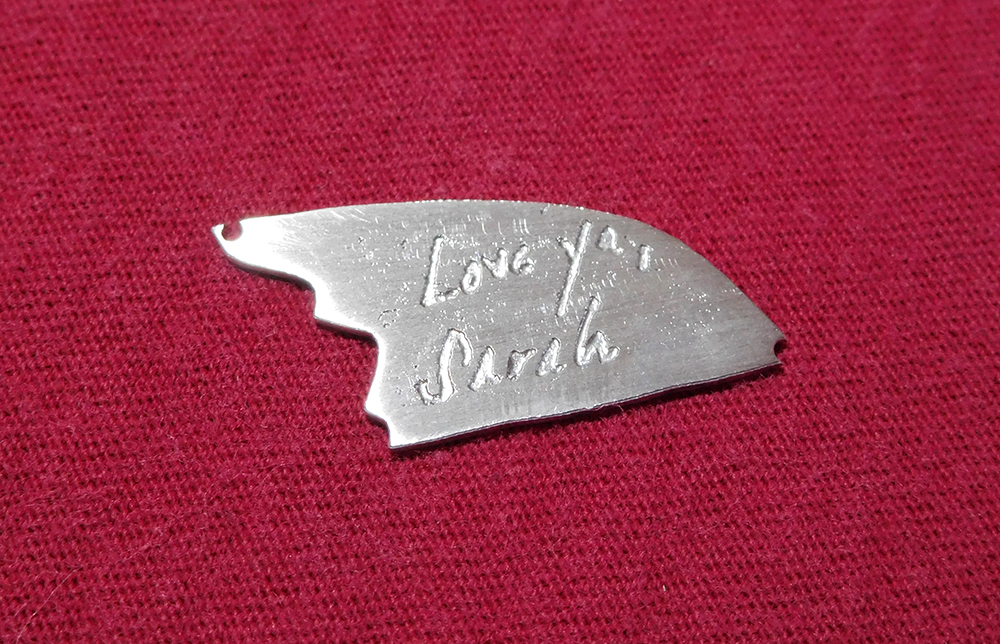
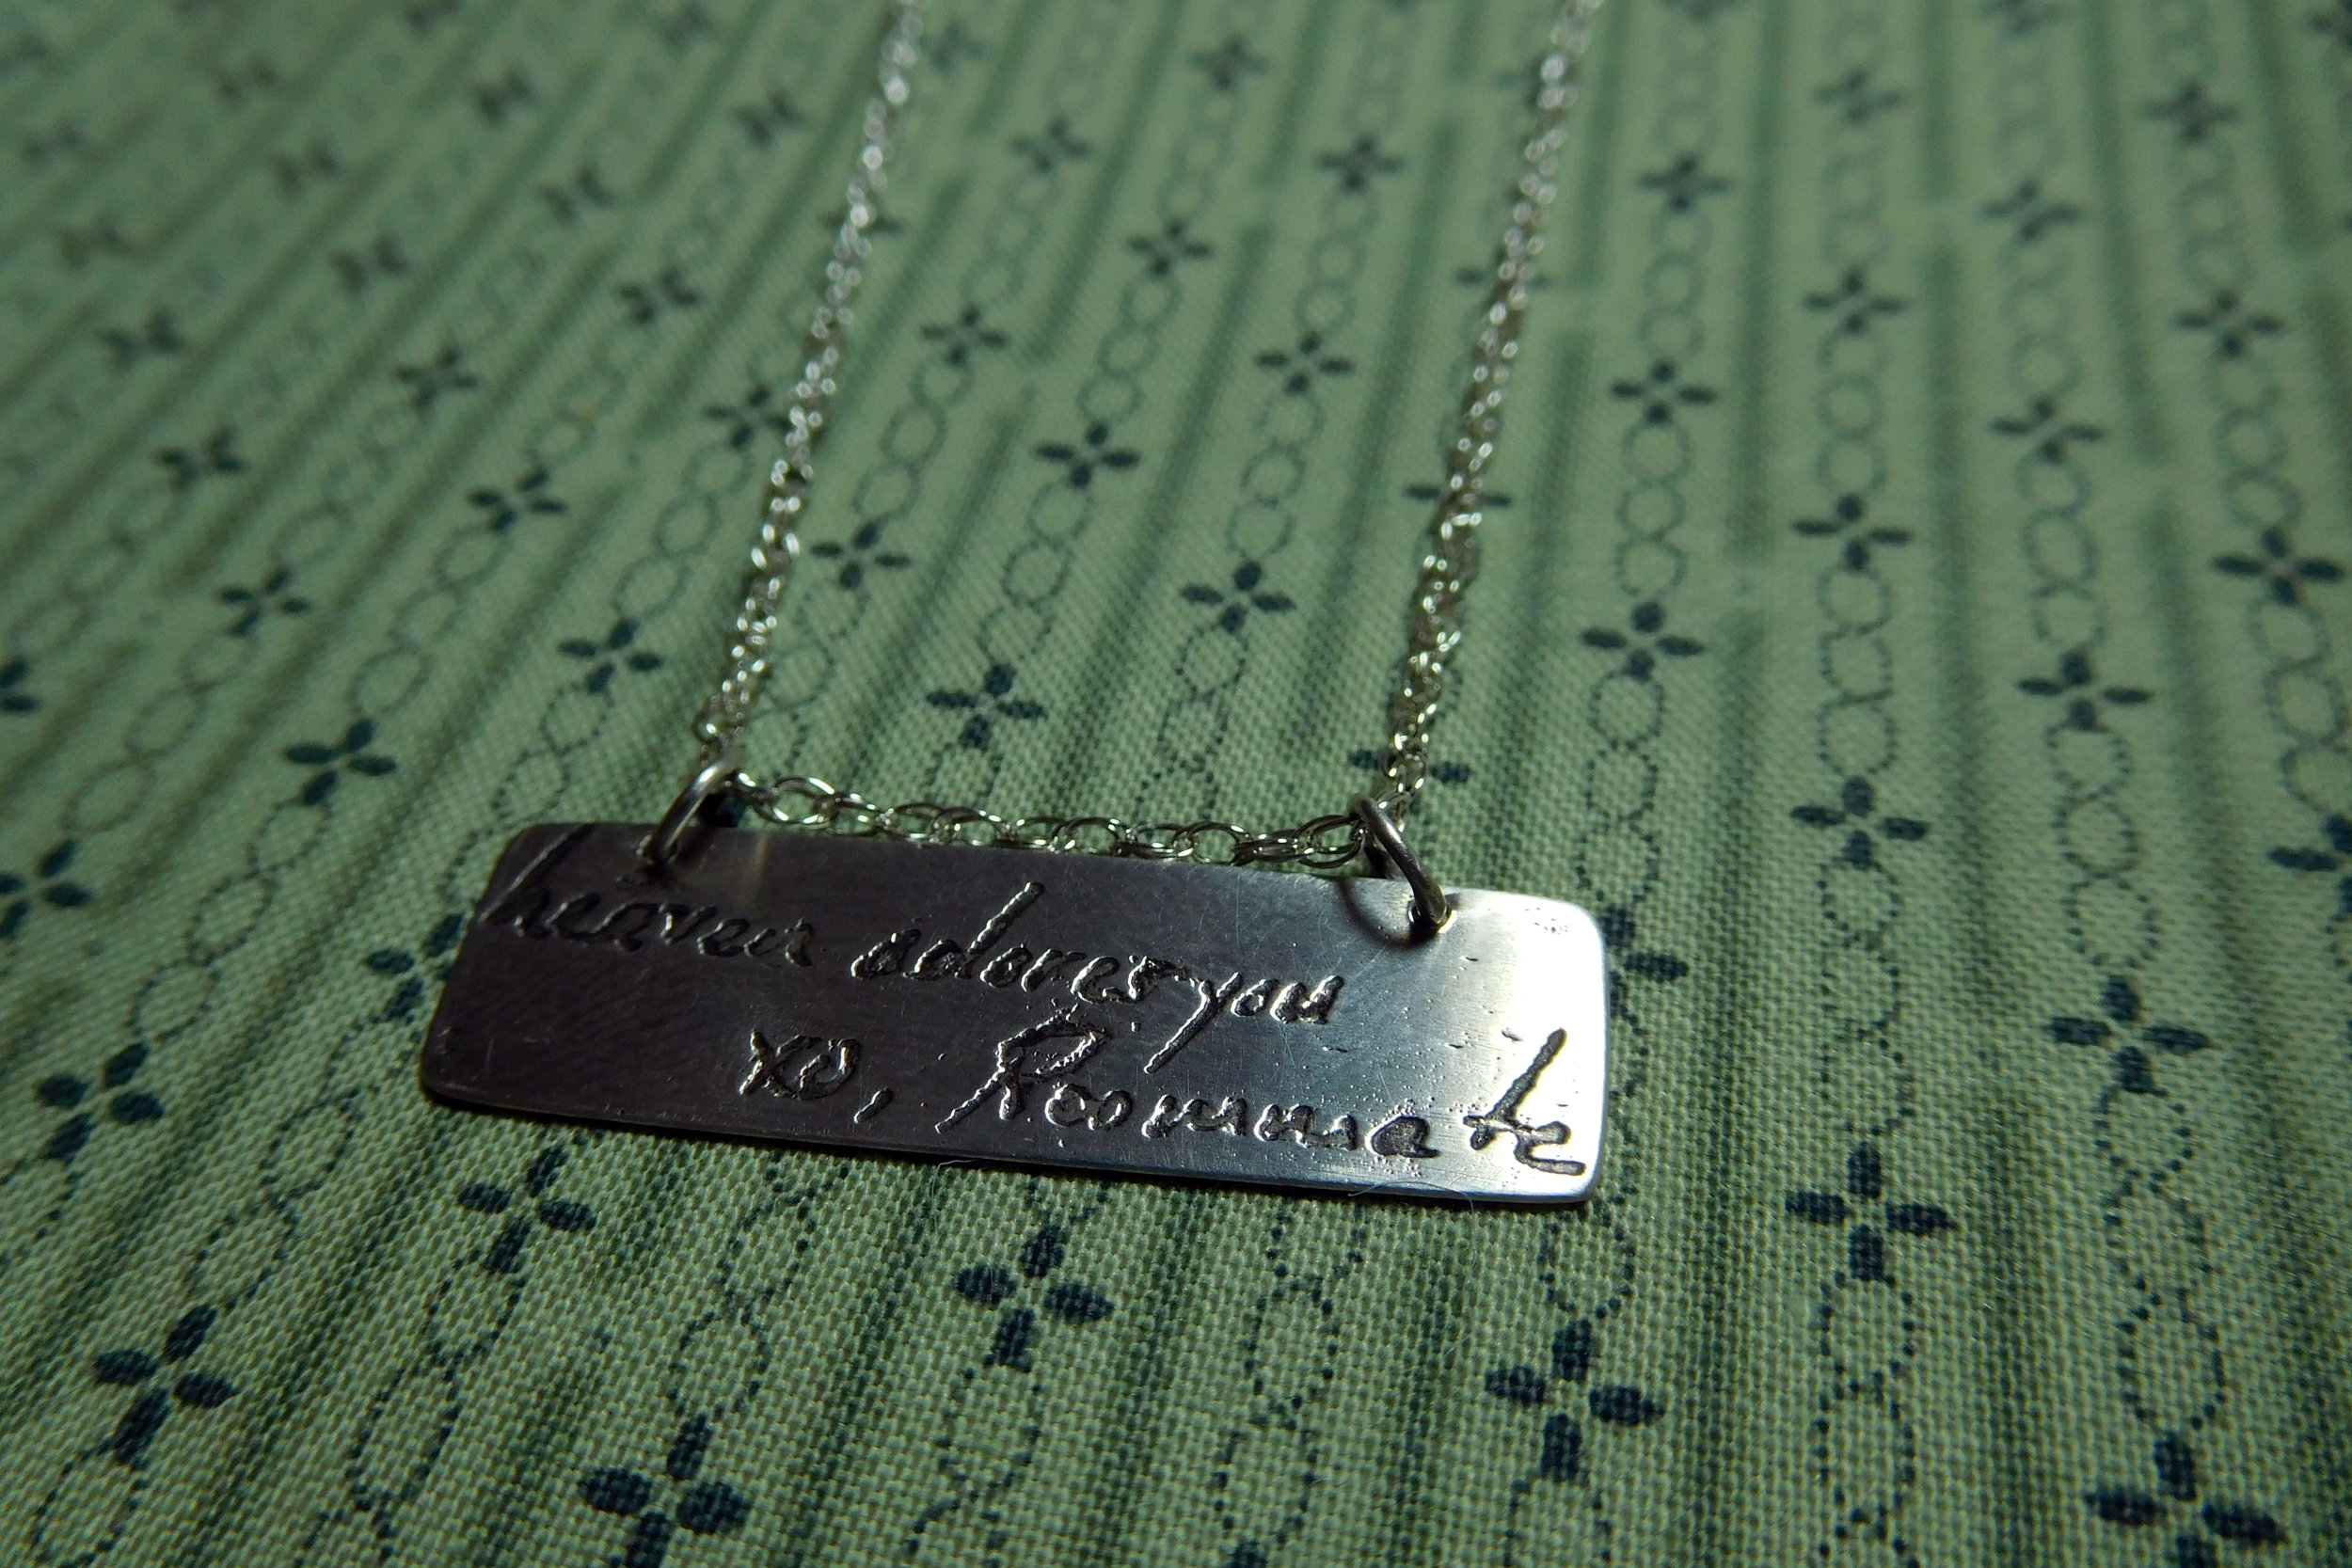
I started by scanning all those letters into my computer, and then use Photoshop to select out single characters and parts of words. Then I was able to create realistic compositions of whole words like "adore" and "heaven" in her original handwriting. I got lucky on a few words she had written, like "roommate", and "Love ya, Sarah". After many hours adjusting, resizing, cropping, and cutting in Photoshop, I was ready to prepare the template for the final design.

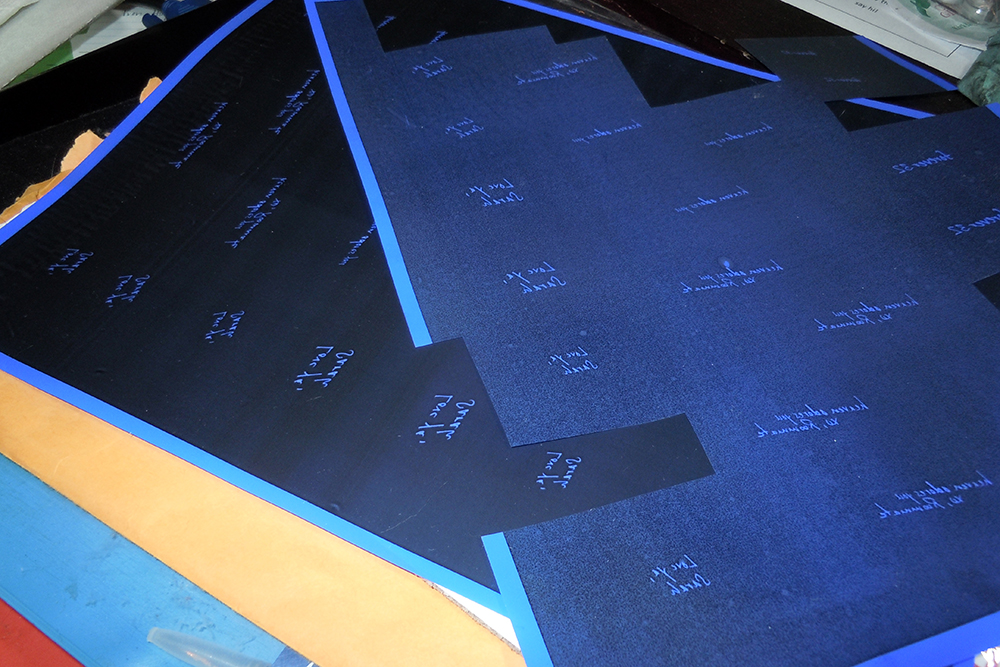
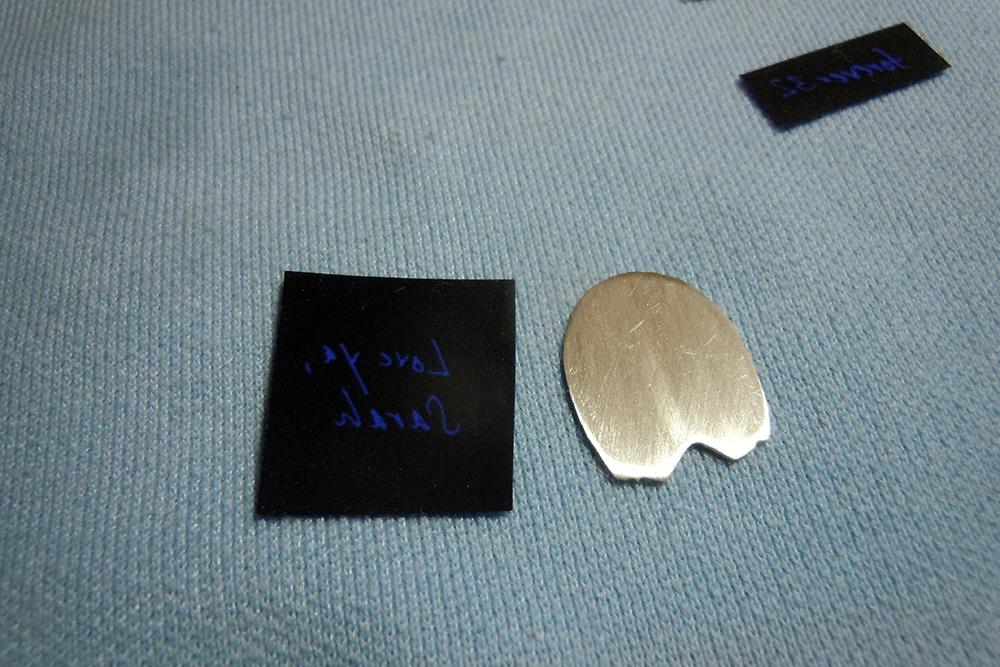
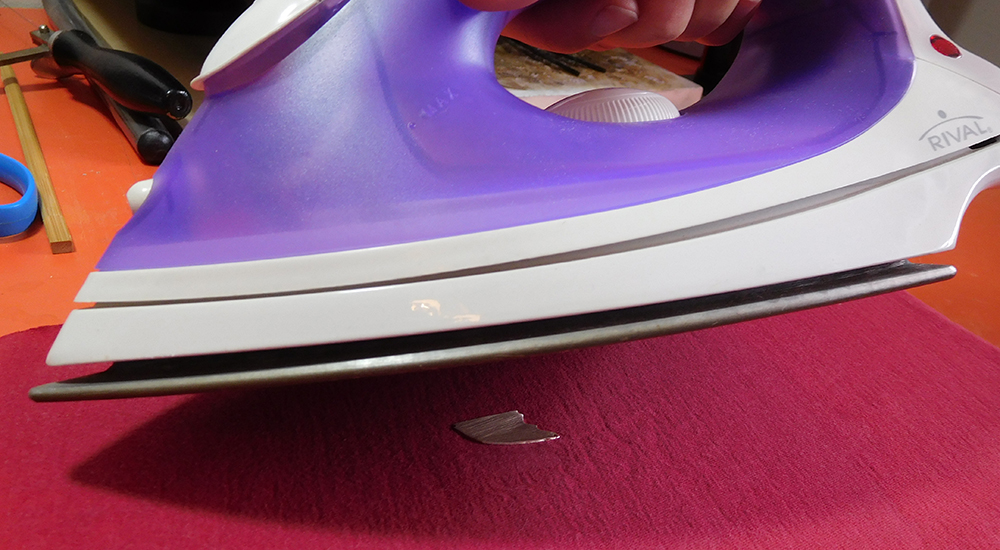
To create the template, I laser printed the final composition from Photoshop on special press-and-peel paper (that's why it's called the PNP process). Believe it or not, the trickiest part about this entire project was transferring the design onto the silver. Sure, "just iron it on" they say...yeah right! After several failed attempts, left frustrated and wondering what I was doing wrong, I finally realized that perhaps the ink on the PNP paper was not dark enough. This would cause the unmasked portion to not stick to the silver properly. I adjusted the darkness of the print, which seemed to resolve the issue temporarily, but I still just couldn't get the design to come out clean...
I hit the books again, reading more blogs, and gathering tips and tricks from other silversmith's. As much as one can read and watch demo videos to learn a new skill, nothing quite compares to learning a process through hands-on trial and error--being a student, and letting these struggles take place and taking note of necessary changes each iteration.
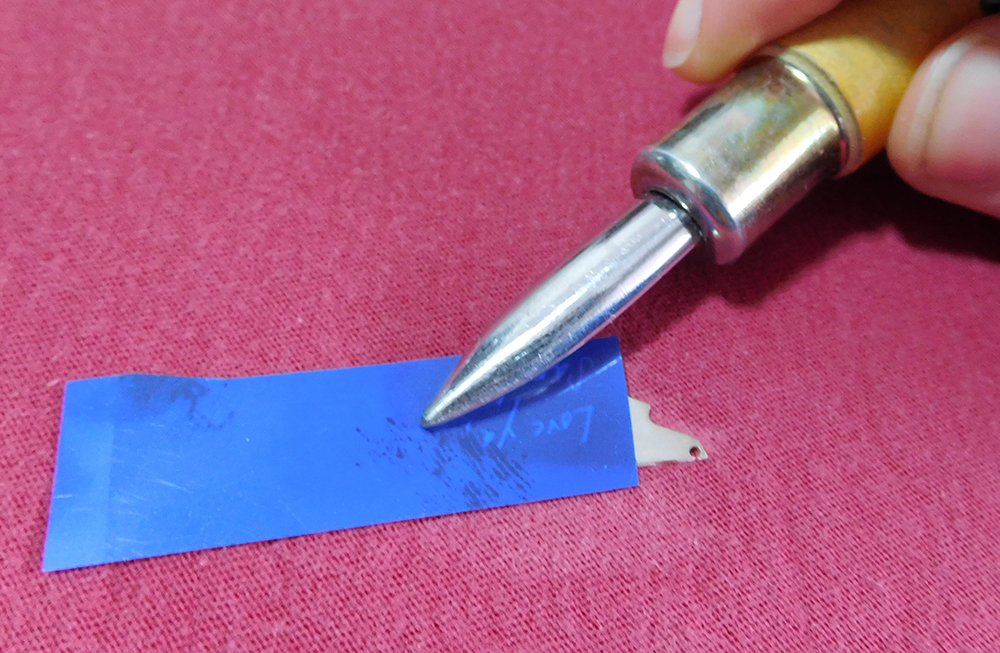
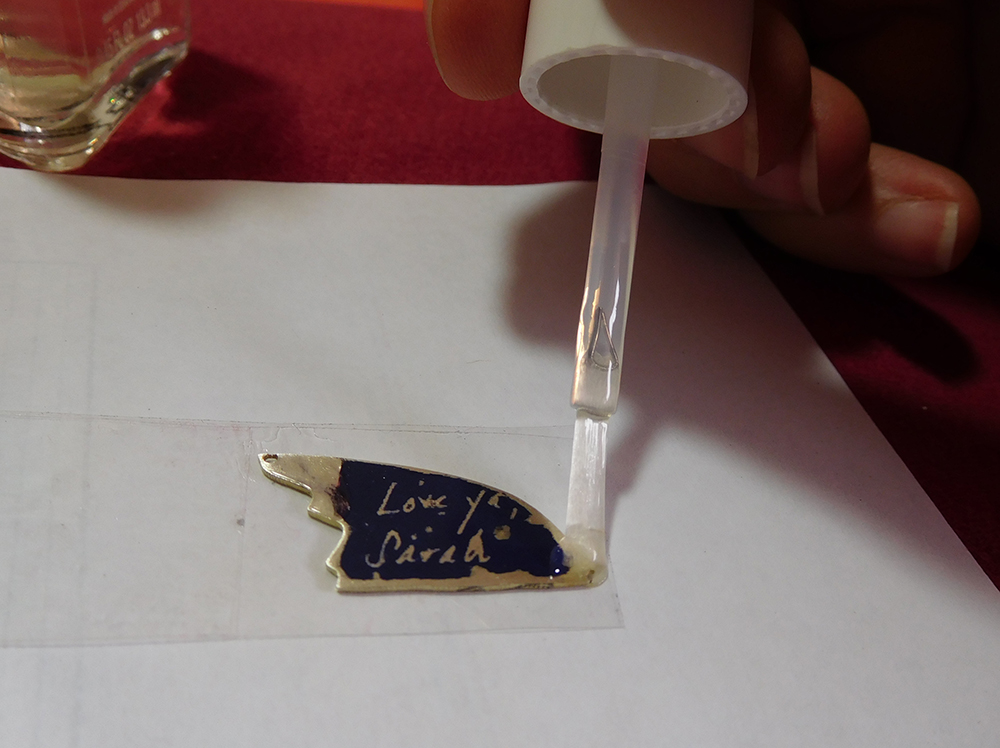
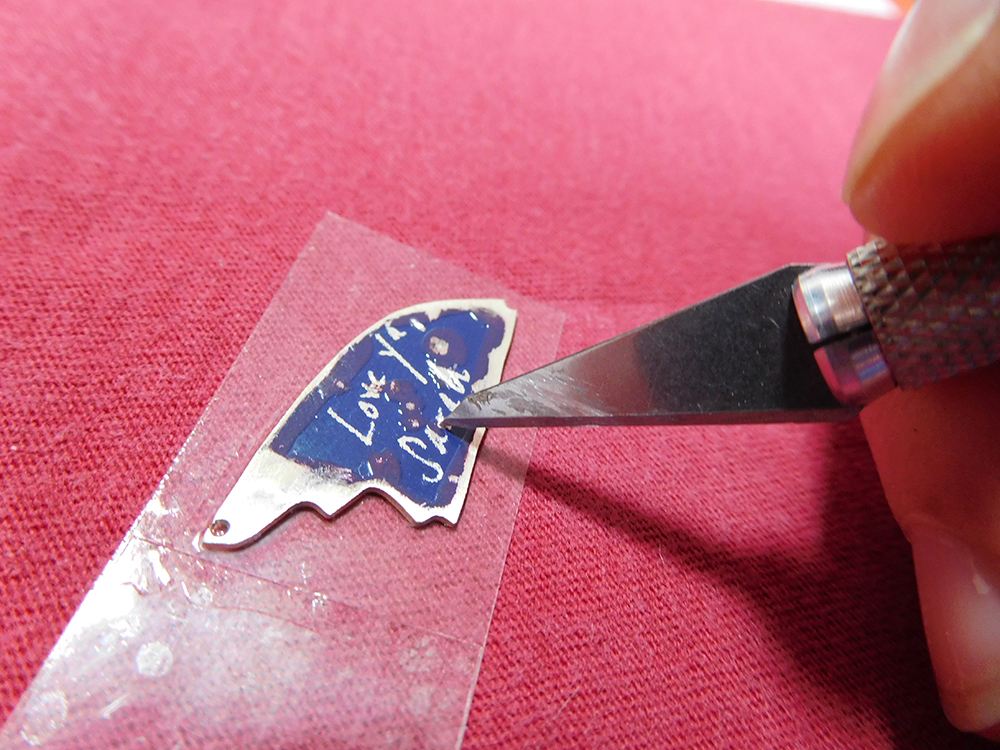
Even though the design had been transferred to the silver at this point, it was necessary to mask the exposed edges and back of the piece not covered with the PNP paper, to protect the silver from being etched way. I used clear coat fingernail polish to mask all edges, and packing tape to mask the back.
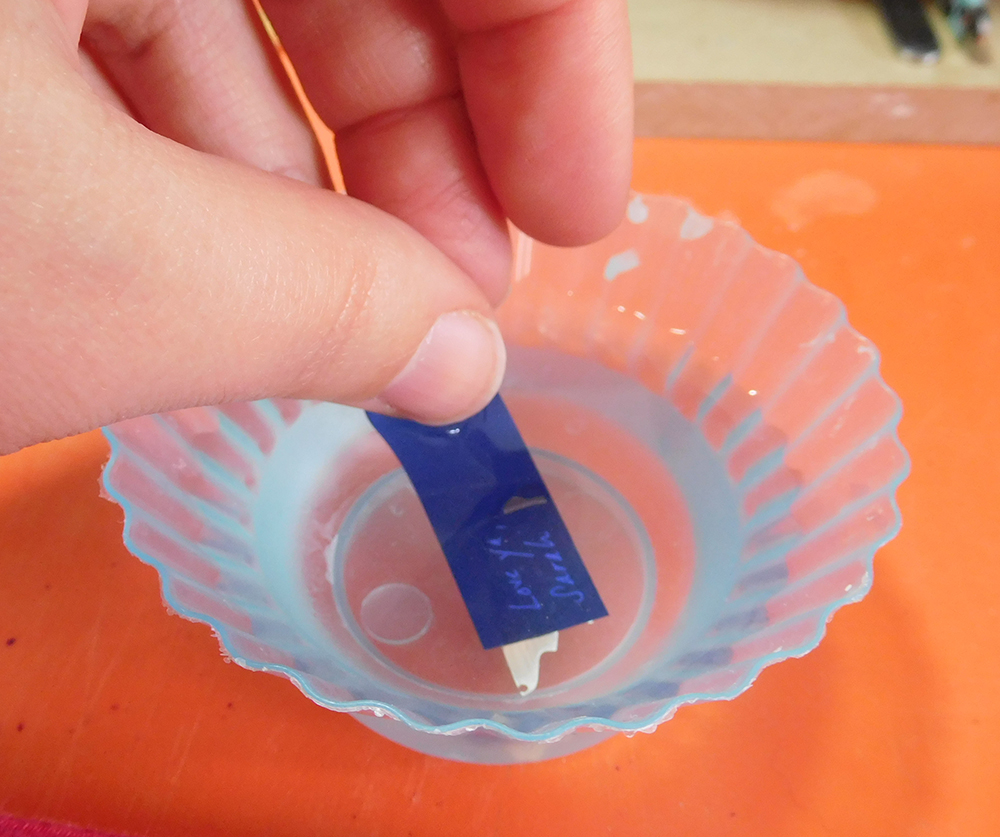
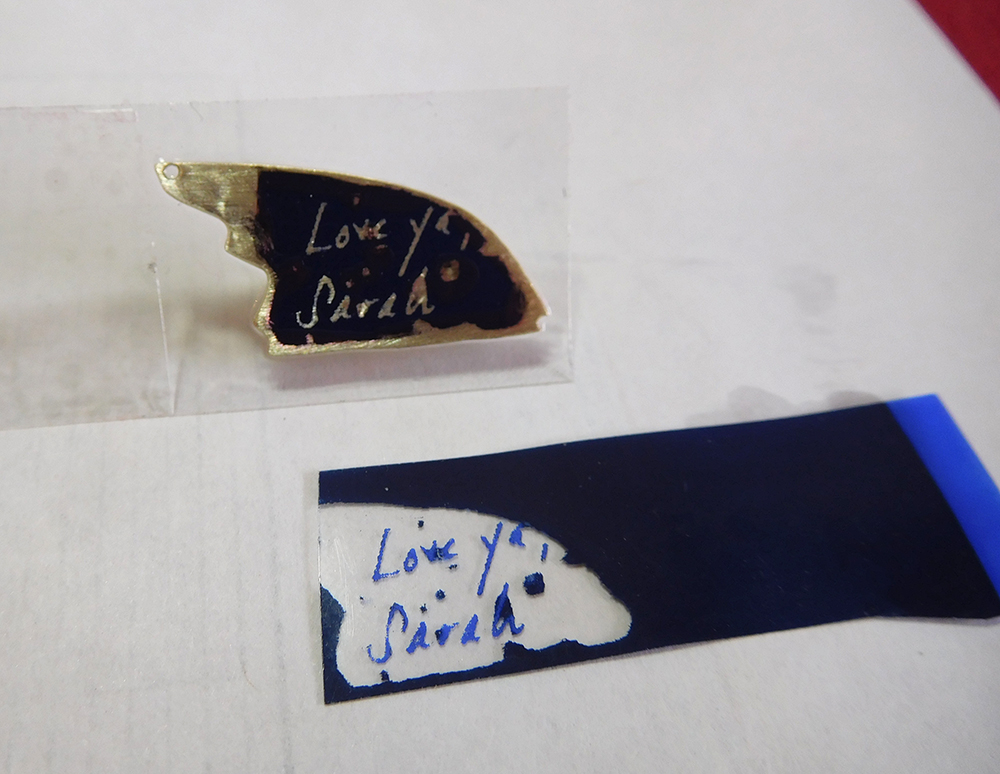
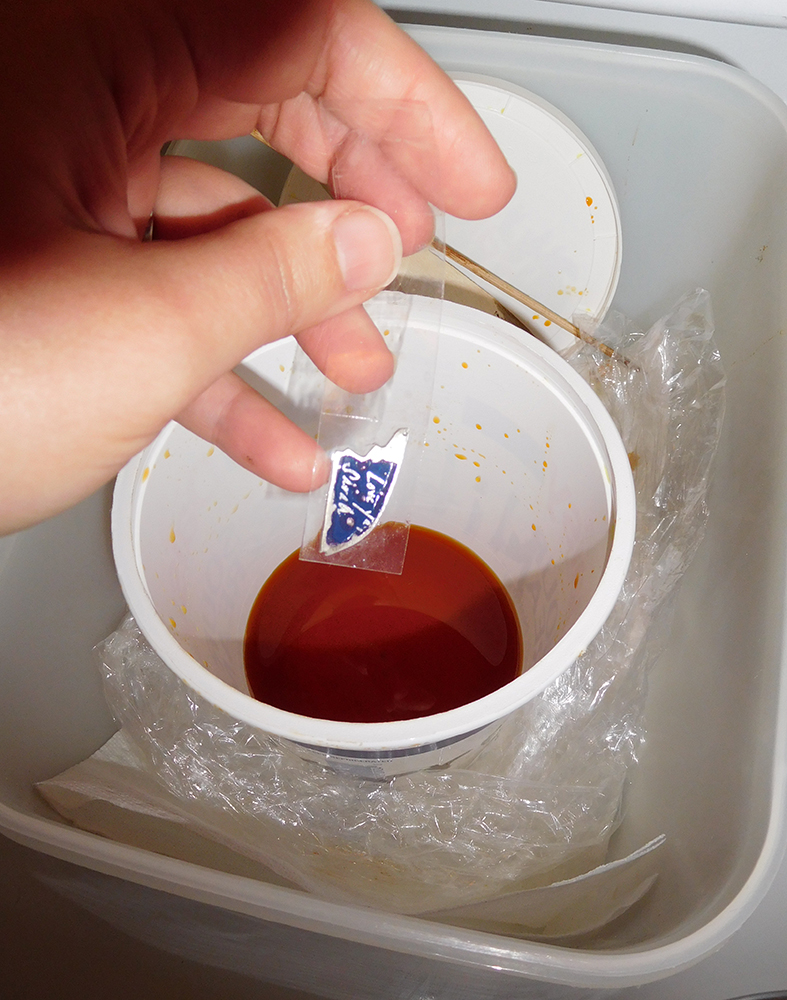
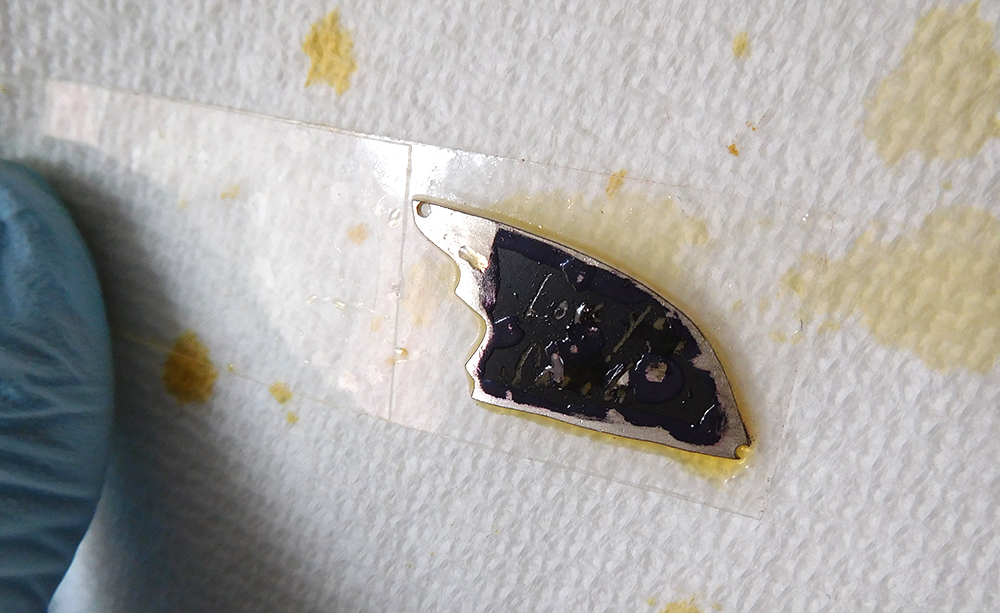
On with the etching! This is where all the magic happens! Being very careful to work with gloves and goggles in a well-ventilated area, I mixed an acidic solution of water and Ferric Nitrate, which slowly eats away sterling silver. The piece was submerged in the solution for 2 hours. Every half hour, I'd agitate the acid bath, and pick at the exposed design to loosen the etched silver with a toothpick. Once the pattern was etched deeply enough, I removed the piece from the solution, and sanded the Peel-N-Press paper away. A final bath in a product called Black Max patinas the silver a nice gunmetal blue. That dark color will remain in the etched letters, while the rest is eventually polished off.
Whew! That is acid etching on silver in a nutshell! From that point, all that remained was to solder on jump rings and polish away! When all was said and done, I hope that I managed to pay a proper tribute to the remembrance of Sarah, and successfully preserve her stylized handwriting on a cherished keepsake.